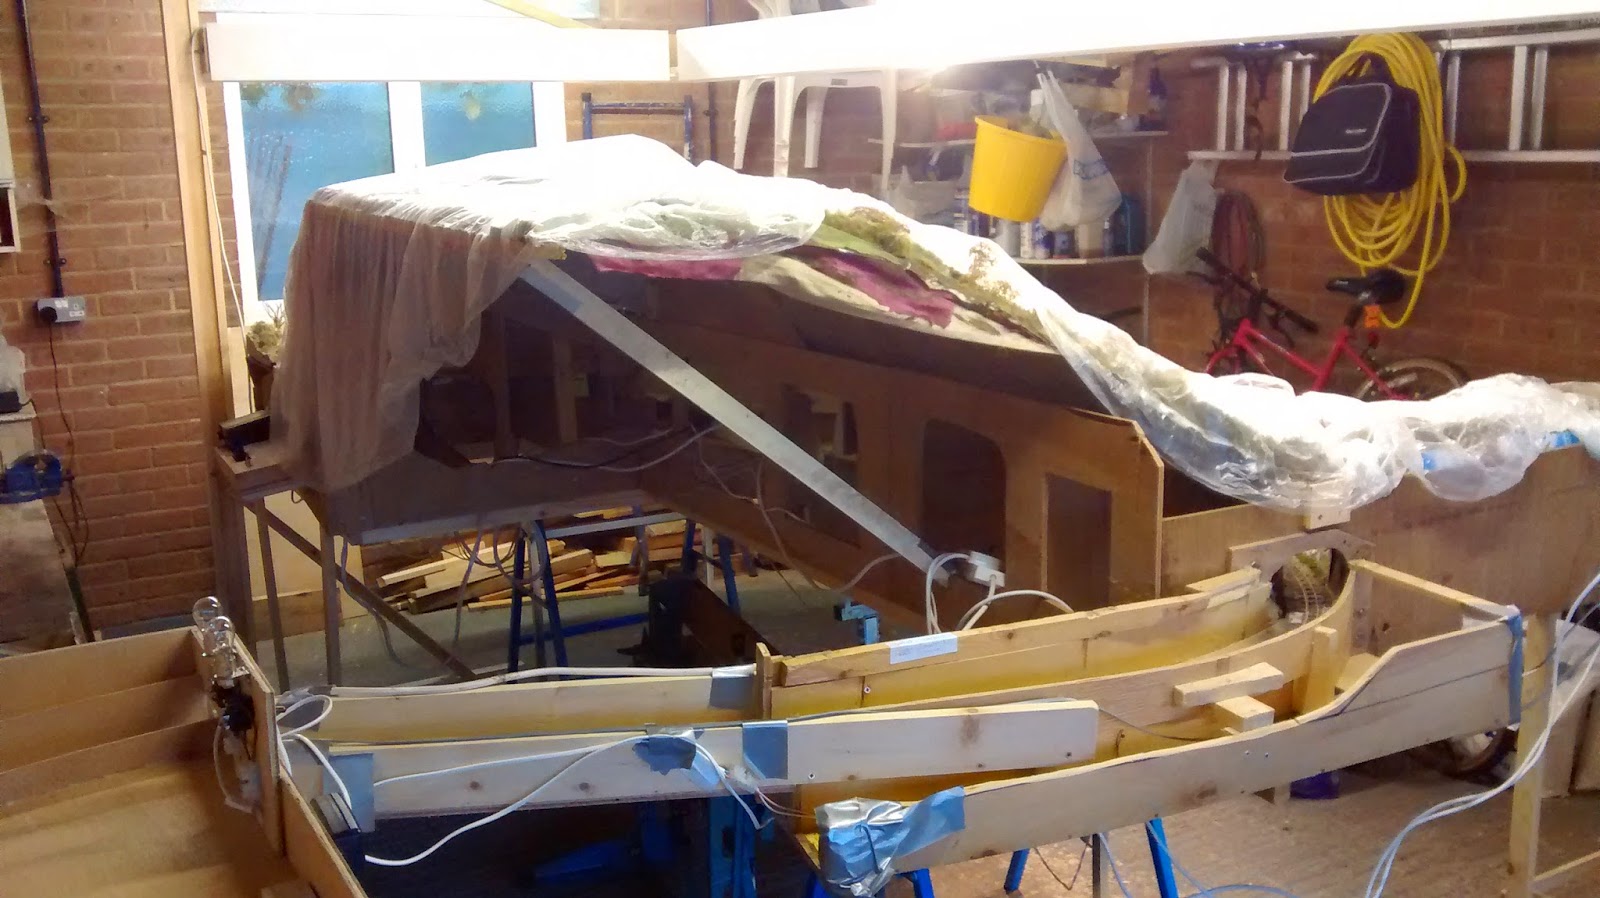
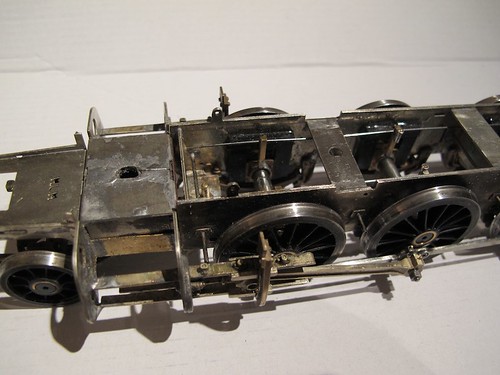
Since the reassembly back in the loft after ExpoNG I felt I needed a bit of a change so I started work on my ex GWR 2-6-2 prairie no. 5519 from a JLRT kit. This is ScaleSeven of course and I am attempting to use continuous spring beam suspension and split axle pickup. After overcoming several challenges I have got as far as a running chassis but I want to be confident it will work before completing the footplate and body. For this I need some track for it to run on. I then found that the 3 way
point I built many years ago is not fit for purpose so I am making
another. I fear this may develop into a major focus on the SG before
5519 gets it's body or any further progress on the adjoining NG.
However, at least I am back on the interchange yard.
More photos here: https://www.flickr.com/photos/13437403@N03/sets/72157649101140788/
Featured post
Pentewan Light Railway
The Pentewan Railway in Cornwall was possibly unique in having three* gauges in its lifetime. Christopher Hawkins built the original rai...
Saturday, 28 March 2015
Monday, 3 November 2014
PLR at ExpoNG
Well the day came, it happened and I'm glad it is all over.
It largely went to plan. Packing the van was a challenge, but luckily my friend Steve helped us do it properly. Set up on Friday night took the best part of 3 hours, and we just got to the hotel in time to persuade the barman to give us a drink.
Everything worked as well as could be expected on the day. We had some challenges and soon realised it was better to abandon the planned realistic operation (clay up, coal down) in favour of plenty of action to please the crowd - Hensbarrow has never seen so much traffic!
It largely went to plan. Packing the van was a challenge, but luckily my friend Steve helped us do it properly. Set up on Friday night took the best part of 3 hours, and we just got to the hotel in time to persuade the barman to give us a drink.
Everything worked as well as could be expected on the day. We had some challenges and soon realised it was better to abandon the planned realistic operation (clay up, coal down) in favour of plenty of action to please the crowd - Hensbarrow has never seen so much traffic!
I would especially like to thank Gary, John, Mark, David and Steve for their help and support, and doing nearly all the operating. Due to a quirk in layout placement the back-room operations area proved quite an exhibit in its own right.
With David's help the boards are back in the loft. Some repairs are required and it will be a few weeks before it is fully operational. I'm looking forward to working on the next developments without any pressure.
Monday, 20 October 2014
Here's hoping it's worth it
With just a few days to go, the construction of temporary staging, fiddle yard, traverser, lighting gantry, etc. is all complete. There is more trackwork behind the scenes than in front - all just one show!
The last push will be to try and get some more wagons ready and a few more running trials.
Wednesday, 24 September 2014
One month to go!
Oh dear - just one month to go! I think all my fellow O14 exhibitors have been good to go for some time, but I still have so much still to do. A 3 week holiday followed by a week + weekend of working has meant no progress since my last post.
However, I think my fiddle yard plans will work, Sn3 track is on the way as are A frames; runners and bolts for the traverser have arrived; and I have started dissembling the sections in the loft. So it's just wood to get and construction can begin. And then it's wiring, lighting, wagons - arrgh!
Wednesday, 20 August 2014
Scenery nearly complete
Most of the scenery on the the bit going to ExpoNG is now complete. Just some of the quarry buildings to finish and bed into the landscape and its good to go. It's really far from finished as lots of the details will be left out - unfortunately this is likely to include the planned big derrick crane. Anyway this project was never about actually finishing it - as what would I do then!
So time for some updated shots - some seen before sans vegetation.
Saturday, 9 August 2014
Getting wet
The time had finally come to get some water into the stream and leat. The intention was to use one of the poured water systems and after some research I settled on Magic Water which I acquired from EDM models.
I of course read the instructions fully before using it (didn't I? - oh!) so took all the necessary precautions to avoid any issues - but:
I tried to cover up the meniscus with vegetation but it was simply too prominent, and vegetation would not look right around the bridge piers etc. The resin sets to a rubbery state so it could not be easily scraped away - and it would probably have made it look worse. I eventually decided it needed a thin top coat. I reasoned that it had done any leaking and wicking that it was going to do, so this thin top coat should hopefully just fill the surface up to the top of the menisci. Of course I had now used up all the Magic Water.
A bit of late night internet searching showed there were several suitable clear resins - all quick setting which should enable corrective action to be taken during whilst it sets. I contacted Eli-Chem Resins UK who sold two types at a reasonable price. As a result of their helpful advice I ordered a General Purpose Clear Epoxy 350g starter kit - despite choosing their standard 5 day delivery it arrived the very next day!
I dribbled a thin coat into the middle of the leat and worked it into place with a spatula to just fill the meniscus. When it started to thicken up I carefully swept any build up away from the edges with a small coffee stirrer.
The result is much better. The top coat has set very clear with a hard glass like finish and the menisci are far less prominent. What remains can easily be hidden with some judicous planting.
(After planting - clearly it now needs a hoover)
I of course read the instructions fully before using it (didn't I? - oh!) so took all the necessary precautions to avoid any issues - but:
- It leaked. It shouldn't have - I had tested it with water several times, each time plugging all the leaks with waterproof PVA, varnish etc. It didn't leak that much but luckily most of the drips fell on the newspaper which was still down from the prior leak checks. I think one of the problems is it takes hours to set so has plenty of time to ooze through any tiny holes.
- There were very prominent meniscusses (menisci?) especially along the leat and around the viaduct piers. This was partly a result of wicking into porous scenery and vegetation (as noted in the instructions), and also possibly through loss of resin, i.e. the meniscus was the high tide and the level went down slightly through the leaks.
I tried to cover up the meniscus with vegetation but it was simply too prominent, and vegetation would not look right around the bridge piers etc. The resin sets to a rubbery state so it could not be easily scraped away - and it would probably have made it look worse. I eventually decided it needed a thin top coat. I reasoned that it had done any leaking and wicking that it was going to do, so this thin top coat should hopefully just fill the surface up to the top of the menisci. Of course I had now used up all the Magic Water.
A bit of late night internet searching showed there were several suitable clear resins - all quick setting which should enable corrective action to be taken during whilst it sets. I contacted Eli-Chem Resins UK who sold two types at a reasonable price. As a result of their helpful advice I ordered a General Purpose Clear Epoxy 350g starter kit - despite choosing their standard 5 day delivery it arrived the very next day!
I dribbled a thin coat into the middle of the leat and worked it into place with a spatula to just fill the meniscus. When it started to thicken up I carefully swept any build up away from the edges with a small coffee stirrer.
The result is much better. The top coat has set very clear with a hard glass like finish and the menisci are far less prominent. What remains can easily be hidden with some judicous planting.
(After planting - clearly it now needs a hoover)
Friday, 27 June 2014
Signs
With some helpful info and advice from my friends on the O14 Group I have made some mileposts and whistle boards. I have decided not to make gradient posts - the PLR crew knew exactly where the big hill was!
Friday, 13 June 2014
No turning back now
Well the secret of the PLR's one and only public appearance is well and truly out now (gulp!). I just hope it will live up to the publicity. There is still lots to do: complete the scenery, leat, make the rest of the quarry buildings, make the hidden track boards and fiddle yard, lighting gantry and lots of clay wagons.
Friday, 16 May 2014
Trackmaking for Chelfham
I've been helping my friend David by making some points for Chelfham. He was running out of time before it's next outing at the 7mm NGA AGM at Burton-Upon-Trent and I wasn't going to let him succumb/revert to the dreaded crazy track.
Friday, 21 February 2014
More scenery
I am progressing well with the scenery. My thoughts are if I start at the very back I can learn the techniques that work for me and hopefully I will have improved enough by the time I get to the front. I have tried to introduce a bit of false perspective on the very back section with smaller hedges and 4mm scale cattle and gates.
I have deliberated long and hard on how to represent bracken with some areas of old dead stuff and others still growing - I have the photographic evidence if anyone doubts this. I used a base of lichen for the dead stuff with selected Scalelink fronds added in here and there, and whole Scalelink plants for the still growing plants. I possibly need to add a few more of these. I used a blowlamp to curl the tips slightly in an effort to make them more realistic. Painting was with acrylics (on grey primer) and then touched up with watercolours.
Subscribe to:
Posts (Atom)